
Like 3D printers, cutting machines can free scale modellers from the limits of what the hobby market is willing to sell us. No masks available for this kit or that marking scheme? Make your own!
But, like 3D printing, this isn’t some trivial thing which you can master in minutes, so I’m writing a few short guides to making your own designs and getting the best results, starting with a simple solution to a common problem.
And that’s how to get clean and accurate cuts from Tamiya masking sheets using a Cricut cutter.
Initial failures
If you already do any kind of 2D or 3D design, you won’t need me to teach you how to draw a few flat shapes. I wasn’t a CAD newbie either, so I felt pretty confident that I’d never need to buy another mask set. Over-confident, as it turned out, because my first cut was a wobbly shambles.
I had that dread feeling that maybe I chose the wrong hardware, that my new machine was about to be returned. But I’m self-critical and curious by nature, so maybe I just got something wrong and I could iterate my way to a good result.
Preparing the material
The drawback of Tamiya masking sheet is that it’s possible for the cutting blade to push the material at times. It may be because the backing is very slippery, or the sheet too flexible, or both. The fix (pun intended) is to apply removable tape around the area to be cut.
With the sheet on the cutting mat, place tape along the top edge or anywhere apart from where the grey rubber rollers make contact with the sides of the mat. If you want to tape the left side, you can position the sheet with a gap, but don’t forget to move the image on the screen shown below.
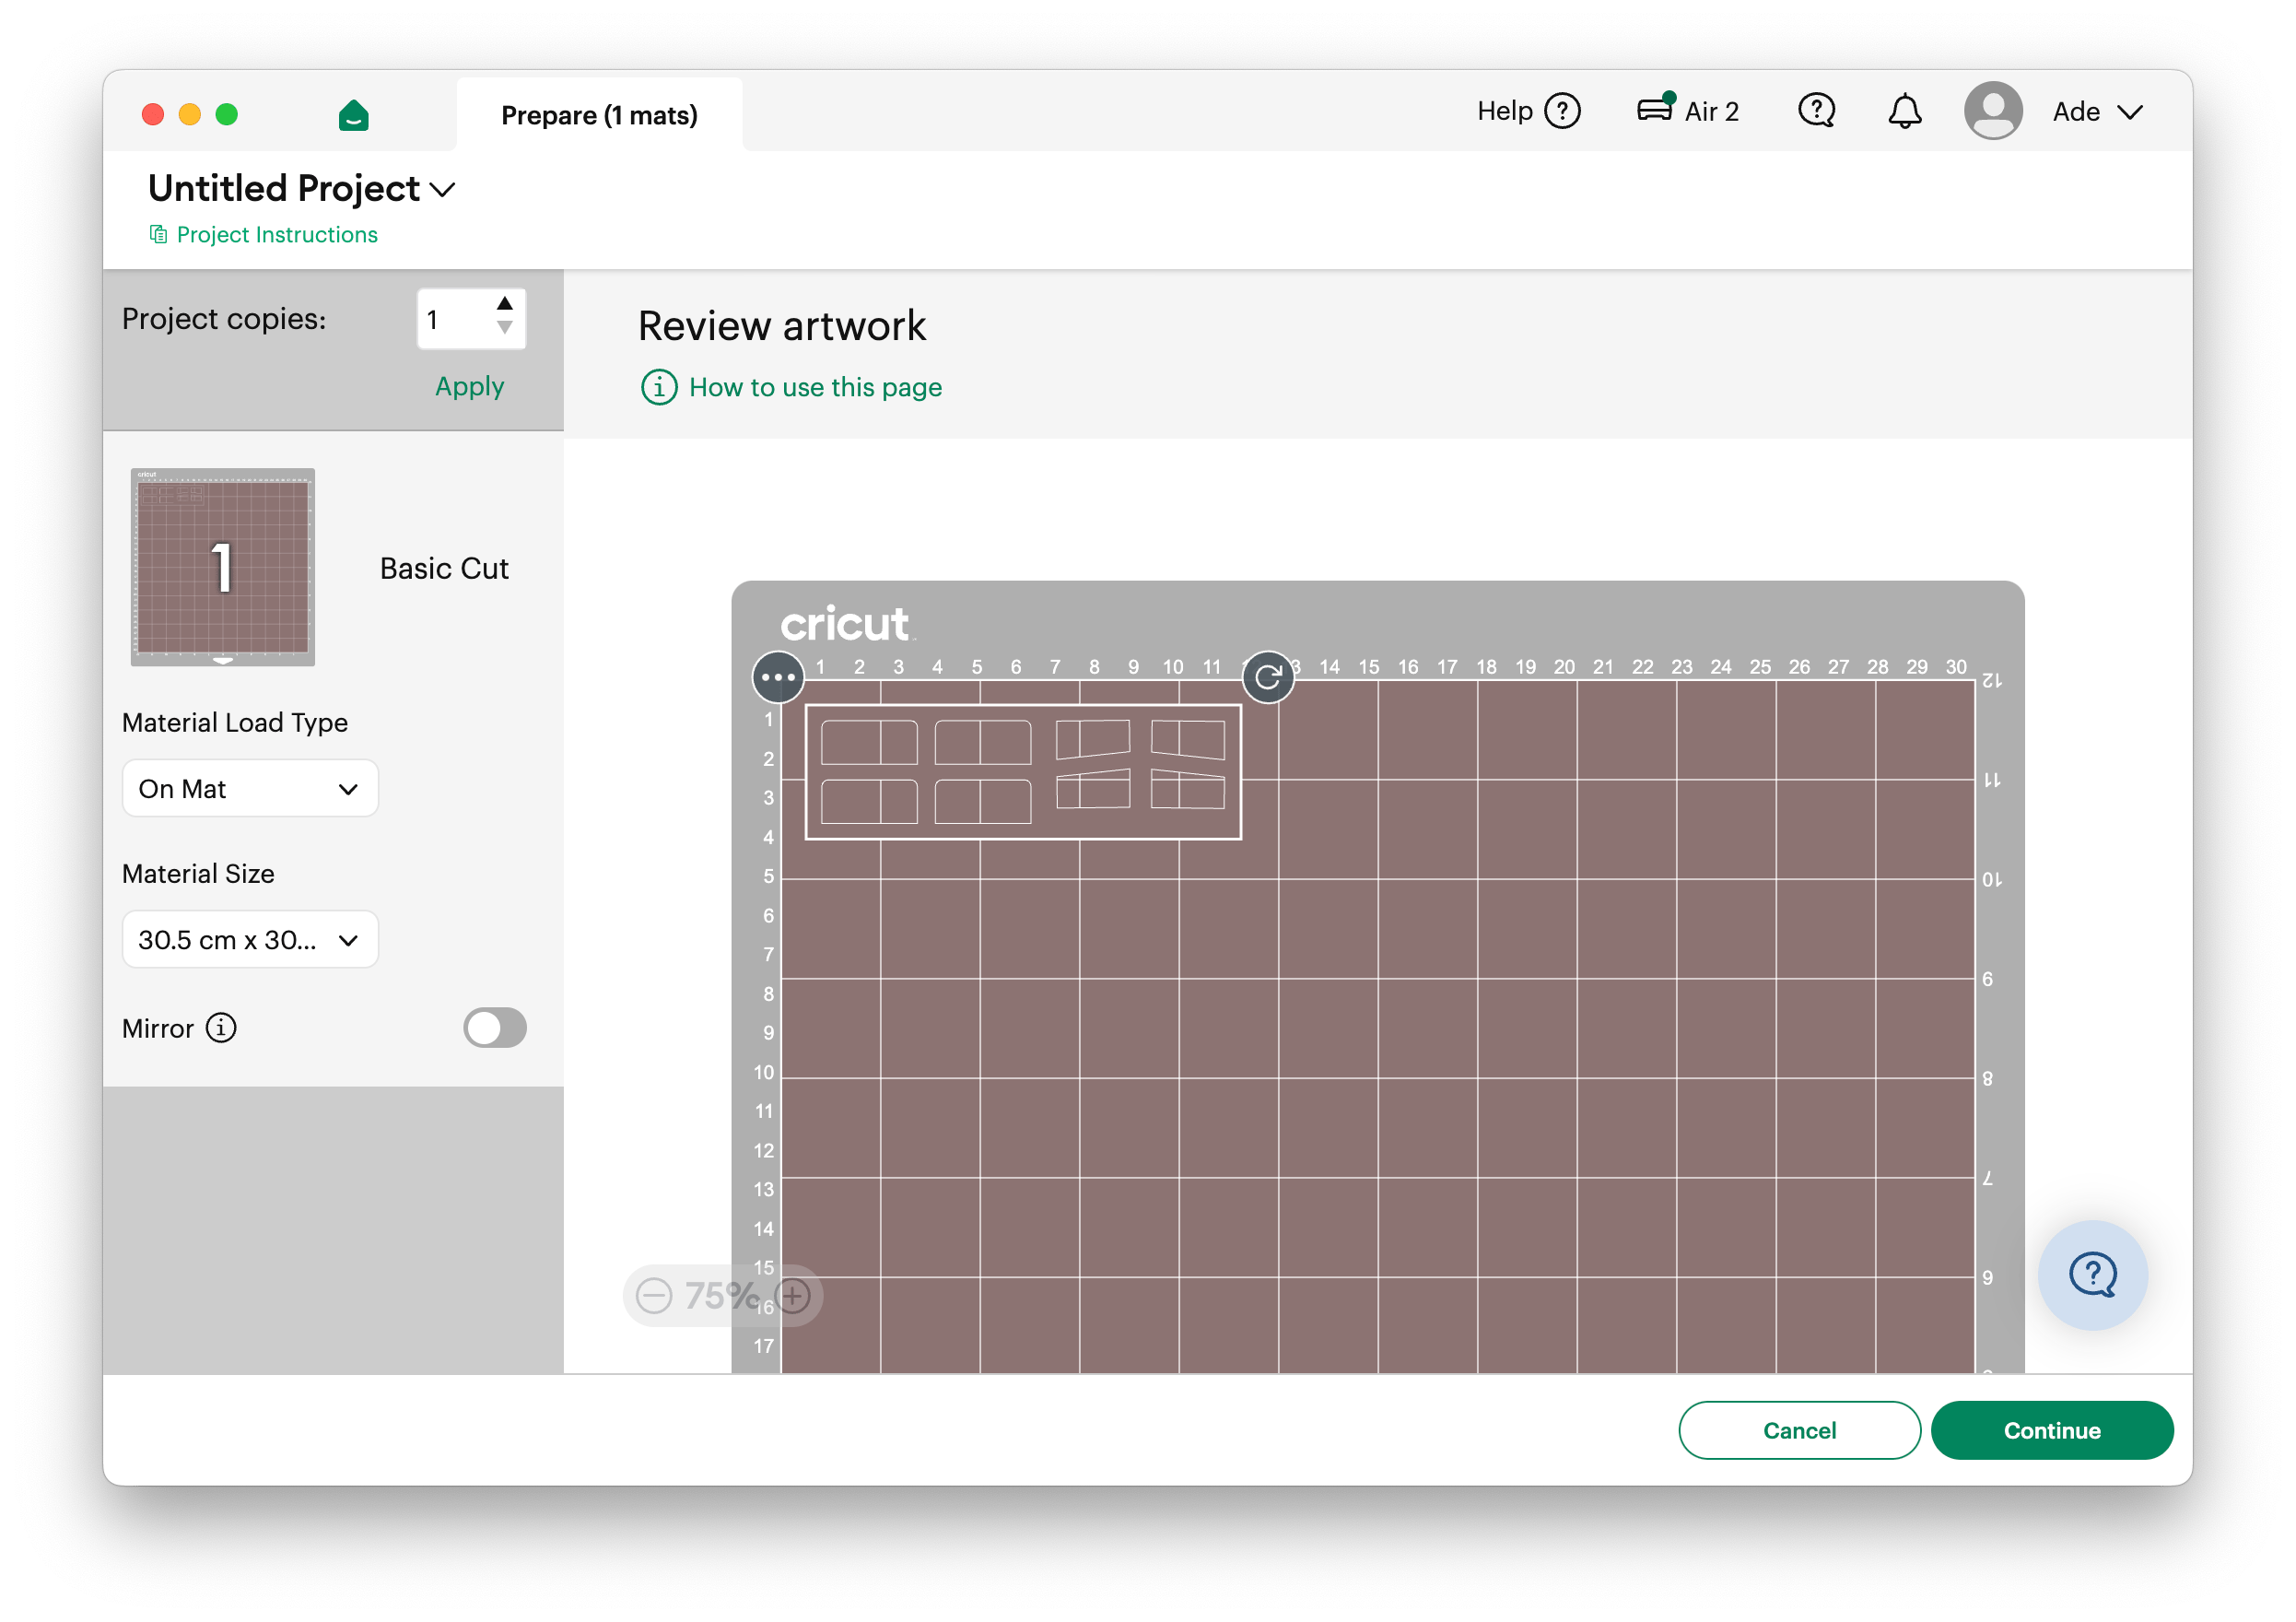
You could cut the sheet to match the size of your mask, though it would be easy to misjudge it. I use an entire sheet and leave it on the mat to be reused, with some extra tape added to edges adjacent to each new cut.
If you use Cricut mats, a new blue light-grip mat is fine for masking materials. If your mats are well used, you may prefer the green standard-grip mat. Some of the cheap generic mats are less sticky.
Tweaking the settings
I should mention one key thing about how cutting machines are able to cut so many different materials with one blade. They adjust how much downward pressure is applied according to a preset for each material.
On Cricut cutters, you can open up access to the full range of material presets and pressure settings by turning the dial on top of the cutter to Custom.
Some materials — Tamiya masking sheet is one — have little tolerance to excess pressure, so finding the magic number can be tricky if the default isn’t already spot on.
Not surprisingly, Tamiya masking sheet isn’t listed in Cricut Design Space, but we do have a preset for generic washi sheet, so if we start there and tweak the pressure a little by trial and error…
What you’re aiming for when setting the pressure is just enough to cut the masking sheet and no more. On my machine, that’s 131, but I recommend that you make a few test cuts with a simple shape to find the lowest number which gives you a perfect result.
You may notice in the video that when I choose my material, that section of the screen is replaced with a pressure setting. So does that do the same thing as I did earlier in the custom settings?
Yes and no. This dropdown menu has only three options and it doesn’t tell you what number you’re getting. This is because the difference varies according to the machine, material, and probably other factors such as the blade type. And your choice here won’t be retained, so you would have to remember to set it every time.
Future editions will explain how to measure for complex masks and how to design them.


Add your comments